Background
So I recently decided to join the cool kids and get into bucket racing properly. I had previously bought a bucket bike but never rode it because I bought it around the same time as my dirt bike. When I had a free weekend, I was out dirt biking and the bucket never saw daylight. My dirt biking career has been short lived, though. I just didn’t go out enough and couldn’t get the hang of it by only hopping on the bike once every few months. I’m hoping my bucket racing career is a bit more illustrious!
I’ve decided to write these blog posts so anyone that is interested can follow my build, discuss anything and take information from it in case they also wanted to build a bucket.
For those of you that don’t know what bucket racing is, you can read about it here WIKI and here Auckland Motorcycle Club.
My bucket is an FXR150 that I bought from a guy down in Mt Maunganui. The bike had some minor cosmetic changes, useless bits like the lights and dash removed and was a good starting point for my project. Everything underneath was stock, including the dead battery.
Bucket Racing preparations
The main goal of this project is to get racing as cheaply as possible and keep it that way. My mantra for this project, in the true spirit of buckets, will be – “Good Enough”. I’m not here to win NZ racing titles or bike shows and I certainly don’t have the budget for it. I’m just having a bit of fun.
The first race weekend is on the 1st of August, 2 weeks away. I’m hoping to have the bike painted and running well so I can at least get some half decent laps in on the practice day (Saturday).

Bead Blasting
First order of business was to strip the bike down so I can paint the plastics and clean up the disgusting handlebars and triple clamp. The amount of work I have before me seemed a bit daunting at first. But compared to a full blown sport bike like my ZX6 or Daytona, the FXR is so easy to work on. There is not much to remove to get to where you want.
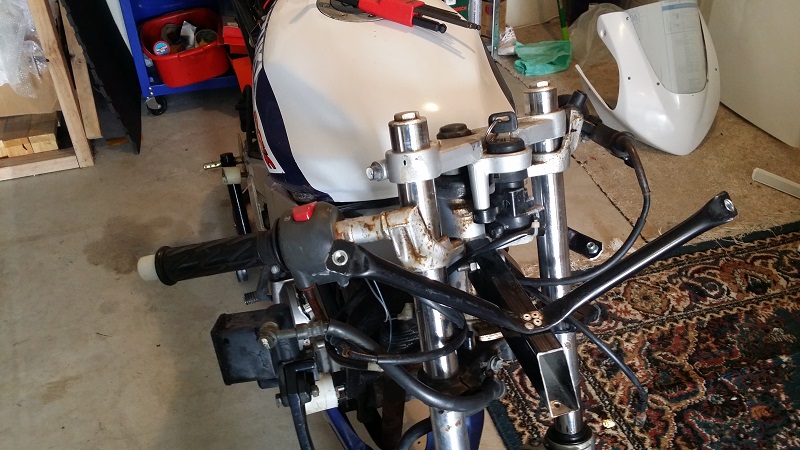
After removing the handlebars and triple clamp, I took them with me to work for some bead blasting and light sanding. I masked off a few critical parts like the threads and fork clamping areas on the triple clamp and threads in the handlebar ends. I wasn’t sure how much damage the bead would do otherwise and whether it would throw the holes out of spec or damage threads. Rest was all free game!


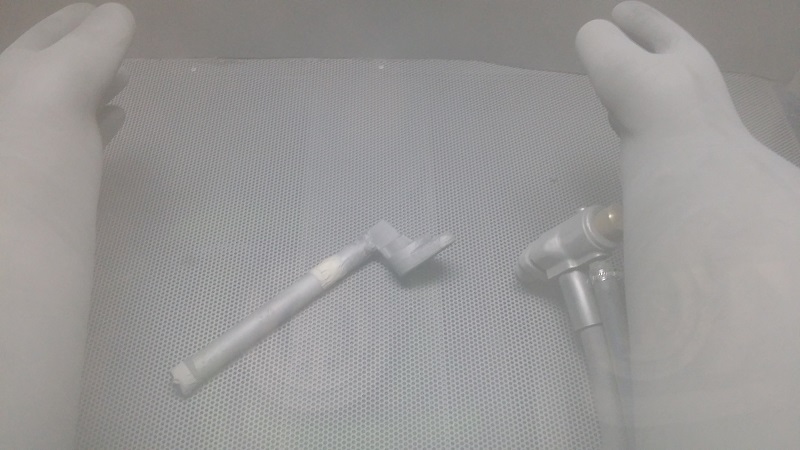


After bead blasting, I gave the parts a lick of paint using some cans I had lying around. The cans were over 6 years old and still worked well! It is a terrible paint job. Runs everywhere and a bit of bubbling. But I don’t care. It looks nice from far. Far from nice though. Most imperfections will be covered up by other parts anyway.


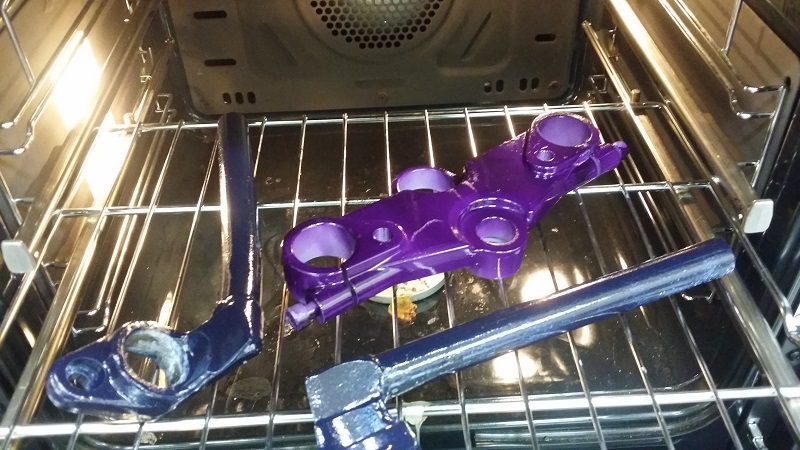
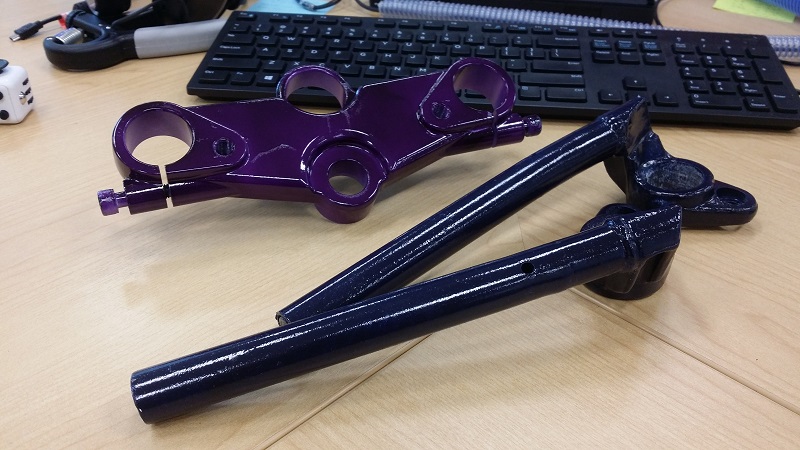
So that’s about it for now. I need to paint my fairings next. I think I’ll try do a better job on those. But as for how the triple clamp and handlebars came out… Good Enough!
Things left to do before the race weekend on the 2nd of September –
- Oil + Filter change (but to do that, I need to warm the bike up. To warm the bike up, I need to get it started… Trying to get a second hand car battery to be my jump pack for the season).
- Put a seat on the tail fairing (but to do that, I need to paint the tail first. May as well paint the front fairing too, at the same time).
- Replace the rear tyre, I need to go pick up an FXR150 rim with a slick.
- Lock wire the sump plug and oil fill plug.
- Brake fluid change.
- Get new brake and clutch levers ready as spares for when I crash.
- Change fork oil and fork seals (may do this after the first weekend).
- Add brake and clutch lever guards.
Follow me to stay up to date! Riders Corner NZ

